Are you prepared to let your inner artist out and infuse your interior design with some charm? The adaptable and incredibly stylish pillow cover is the only option! Regardless of your level of experience sewing or your love for crafts, this step-by-step tutorial will have you creating gorgeous pillow covers in no time.
As we go into the realm of envelope pillow covers, where fabric meets flare and creativity has no limits, be ready to be amazed.
Step 1: Gather Your Materials
Before we begin the stitching magic, let us gather our materials:
- Choose a fabric that expresses your personality or blends nicely with your surroundings!
- Use a pillow form to measure the cover's size.
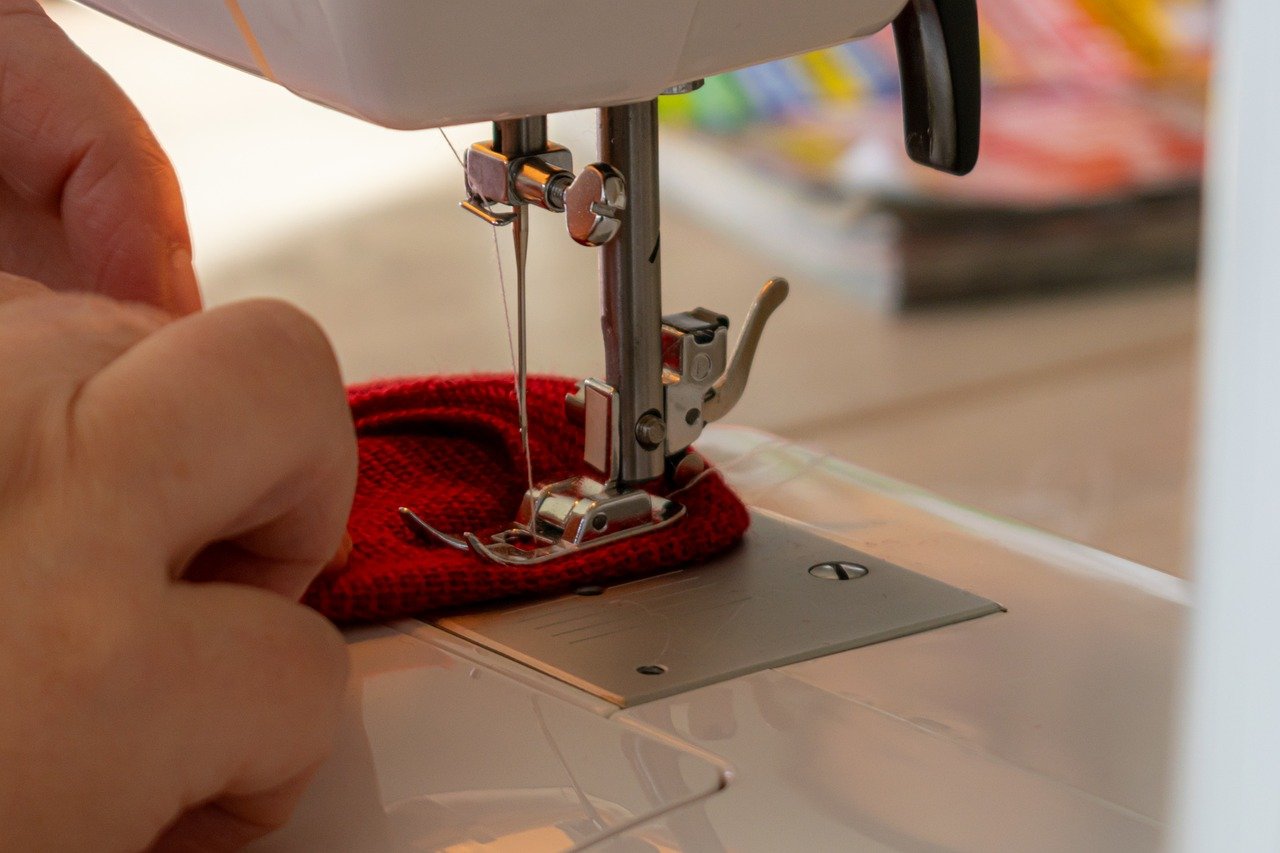
- Sewing machine (or, if you'd rather sew by hand, a needle and thread)
- Scissors
- Pins
- A board and an iron
- Choose a fabric that expresses your personality or blends nicely with your surroundings!
- Use a pillow form to measure the cover's size.
- Sewing machine (or, if you'd rather sew by hand, a needle and thread)
- Scissors
- Pins
- A board and an iron
To find the sizes of your fabric pieces, measure your pillow shape. What you'll need for an envelope-style cover is:
- One piece (the same size as your pillow form) for the pillow's front
- The pillow's back is composed of two parts: the width of the pillow form plus four inches for overlap, and the length of the pillow form plus four inches for seam allowance.
It's time to begin sewing now that your fabric pieces are cut to size!
- Fold one of the back pieces over a long edge by half an inch. To get a sharp edge, press with an iron.
- Press after refolding the same edge by half an inch.
- A neat hemline is produced by stitching along the folded edge after securing it with pins. For the second back piece, repeat these steps.
- Right side up, place the front piece of cloth on your work table. Next, stack the two back pieces on top of each other, overlapping in the middle and pointing their hemmed edges in that direction.
- To secure it together, pin the sides of the rear components to the front piece.
- Sew the pillow cover's four sides together, joining the front and back parts. Make sure you backstitch at both the beginning and the end.
Step 4: Finishing Touches
To minimize bulk, trim any extra fabric and snip the corners. Using the envelope opening, turn the pillow cover over right side out, then gently push out the corners for neat edges. You've just made a gorgeous envelope pillow cover—simply insert your pillow form!
Step 5: Unleash Your Ingenuity
You've learned the fundamentals now, so go ahead and use your creativity! Try with various materials, designs, and accents to make pillowcases that express your individuality and sense of style.
When it comes to envelope pillow covers, the options are unlimited, ranging from stylish neutrals to eye-catching designs. As your home decor turns into a display of your sewing prowess, mix and match fabrics to create personalized covers for every season or event.
So, why do you hesitate? Prepare to sew up a storm with these enthralling envelope pillow covers that will elevate your home's decor. Just grab your fabric and sewing machine. You will be thrilled at what you can do if you put a little imagination and a lot of flare into it!
